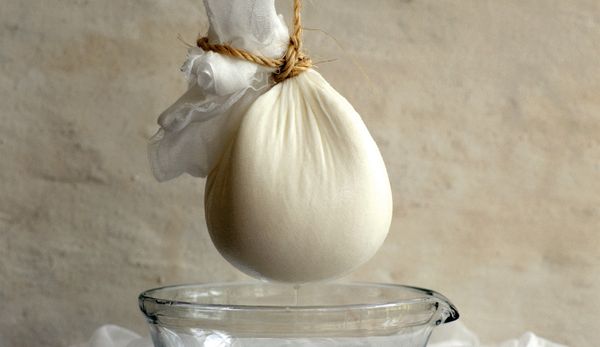
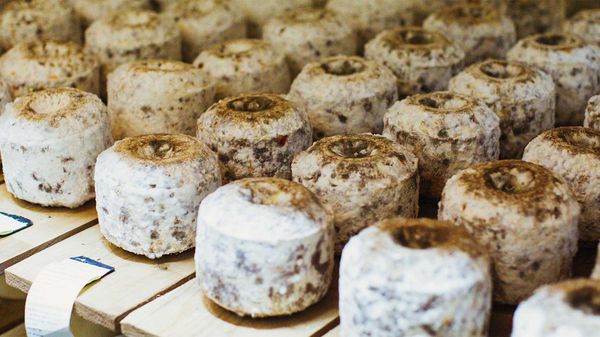
There are good bacteria, and then there are bad bacteria. The latter of the two can be, quite literally, deadly. The former, however, the good ones, are essential: we need them to stay healthy and to make some of our favourite foods – foods like cheese, for example. If you want to harness the help of these good bacteria cultures, you need above all to give them the kind of conditions they like; and since I’m going to need their help during my experiment, I run them a nice, warm milk bath on my stove as a way of currying their favour. Next to me is a do-it-yourself cheese-making kit (ordered from www.kaese-selber.de) and a whole host of cultures just waiting – so I hope – to get to work.

At its most basic level, cheese-making is the art of controlling the way milk ages, so what do you need to know to do this yourself and make a success of it?
Making it yourself is making it
The set is advertised as containing everything I’ll need – which is good, because it’s definitely more than I was expecting: mesophilic starter cultures, natural rennet extract, calcium chloride (35%), a cheese form with holes and a plastic press, a cheesecloth and, finally, a “cheese mat” for drippings. After reading the instructions, I start by heating five litres of pasteurised milk; when it gets to 25°C, I add a spoonful of the starter culture and forty drops of a saline solution made with water and the calcium chloride; once the cooking thermometer shows 36°C, I remove the pan from the heat as this is the temperature my little microbial helpers like best and now they really should be getting going. To help them out, I add one millilitre of natural rennet dissolved in water.
Cut, stir, rest - repeat
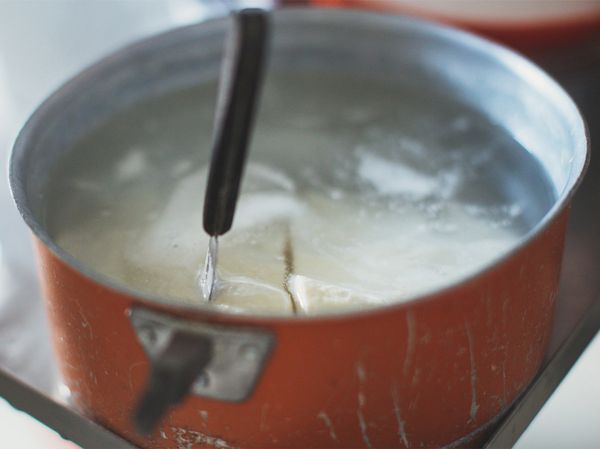
Now it’s time to slow things down: the milk needs to rest for thirty minutes while the lactic acid bacteria and enzymes turn the liquid into a strongly coagulated mass. This curdled mass looks exactly like the one in the instruction video, so I keep going by the book, using a long, sharp stainless steel knife to cut it into columns, cutting ten times across and ten times lengthways. Then I wait for another ten minutes so that the whey released by the cuts can drain off and then I do the whole thing again - twice.
Straining the curds
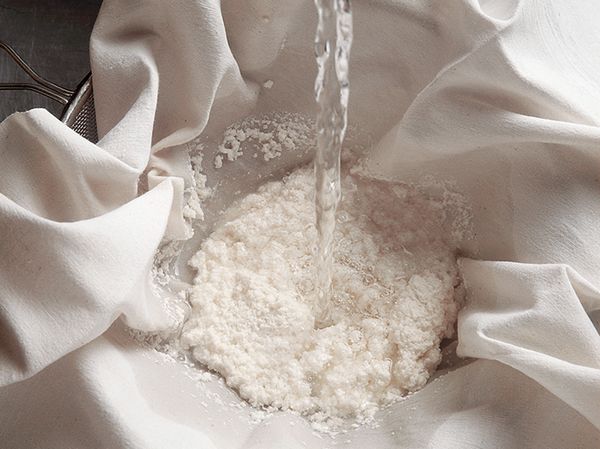
Even after the prescribed pauses in the process two hours in, what I’ve got is not looking anything like curd cheese. Referring to the instructions, I see that the lentilsized casein grains in the whey need another hour and a half during which I have to stir them with a spoon every twenty minutes. That leaves me with plenty of breaks in which I can surf the net and read up about cheese-making. While doing just that, I discover that now would be the time to add any herbs or spices I might want to. Eventually, my phone timer tells me that the 90 minutes are over and that I can move on to the next step: draining the curds and pressing them into the form. So I put the cheese form into a tray to catch the whey run-off and start packing the curds into it, weighing down the press with a weight (in my case, a bottle of water) to squeeze the liquid out of the cheese. This takes a while, though, because the form can’t hold all of the milk; I need three goes with 15 minutes of pressing for each batch.
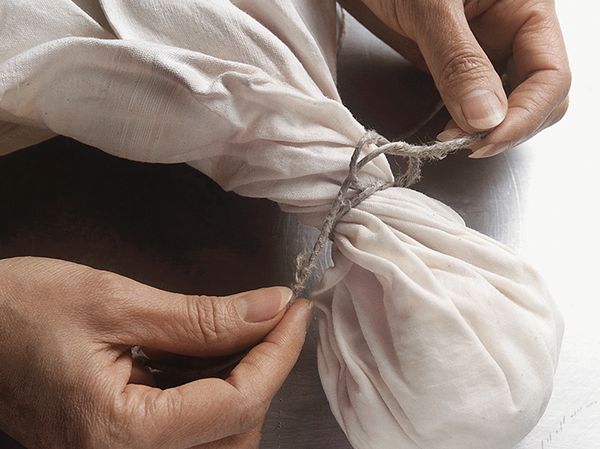
Pressing the curds
It’s lunchtime before I can actually start to use the pressed cheese curd. I take it out of the form every 30 minutes, turning it, putting it back and weighting the press a total of four times. The next day, I hit the home straight and work starts by bathing the cheese in brine; one hundred minutes later, I am finally swaddling and placing the result of so many hours of work, lovingly, into my brand new ripening box. This breathable packaging will keep my baby nicely tucked up as it spends the next four to eight weeks developing its flavour on a stainless steel latticework grate. Every now and then, I stop by and see how it’s getting on, brushing it with salt water and turning it; the rest of the work will, I hope, be taken care of by the forces of nature. I put the whole thing into the warmest part of the fridge and treat myself to a glass of the whey; it might be a by-product, but it tastes pretty good for a start.
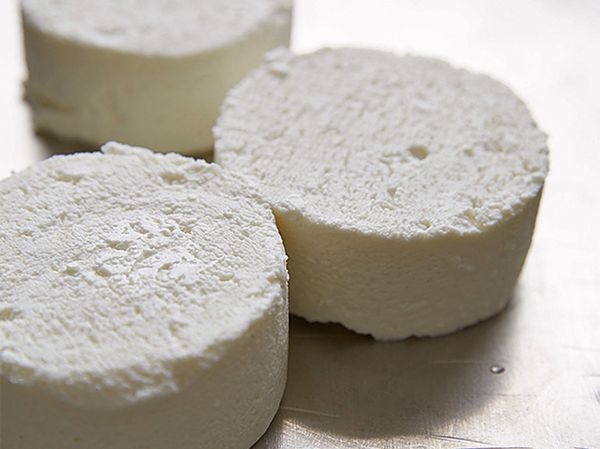
Ripening to perfection
Whenever I treat it with salt brine, I can feel under the brush how the cheese is changing. It gets harder and the rind starts to wrinkle; everything’s going to plan – that is, until, just over a week in, I discover a small patch of mould under the grate on which it is drying out. Could this mould spread to my cheese, I wonder, and ask the DIY box support team straight away. They get back in touch and recommend cutting the ripening process short and eating the cheese immediately. Since it looks a bit like feta at this stage, I marinate the whole cheese in olive oil with some dried herbs and chilli, serving it two days later. The result is real soul food: its consistency is subtle and creamy, its flavour deeply aromatic. My frustration at not being able to finish the process is replaced by a feeling of happiness.
